1.5 | Creating a custom control panel
The Pixotope Director allows you to create custom remote-control panels, which run:
- in the Director
- or in a web browser on your Data hub network
You can control:
- all properties that can be exposed from within the Pixotope Editor
- all functions on Blueprint actors
The control panel only sends values, and does not know about the actual state of the targeted actor in the level.
Widget types
| Type | Image | Behavior | Target | Target property types | Purpose |
|---|---|---|---|---|---|
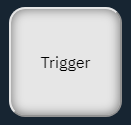
| Trigger |
| Sends predefined variables and/or event triggers when clicked | Accepts multiple targets Can target exposed actor/Blueprint parameters, as well as Blueprint events |
|
|
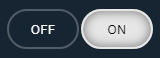
| 2-state button |
| Sends predefined variables and/or event triggers when clicked Button changes to show last clicked state | Accepts multiple targets Can target exposed actor/Blueprint parameters, as well as Blueprint events |
|
|
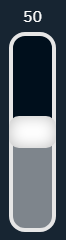
| Slider |
| Sends a number (float or integer) between a min and a max value | Accepts one target Can target exposed actor/Blueprint parameters, as well as Blueprint events |
|
|
| Number |
| Sends a number (float or integer) when field is changed, either by manual entry, or by clicking the arrows | Accepts one target Can target exposed actor/Blueprint parameters, as well as Blueprint events |
|
|
| Text |
| Allows input of text in the dialogue box Sends text input once the "Confirm" button, or CRTL+Enter, is pressed Input can be typed manually, or pasted in Input is limited by Character Length, which is set per text widget. Default value is 60 | Accepts one target |
|
|
| Drop-down |
| Switches between the enum values (when the target is an enum) Switches between user-defined values (any other target) | Accepts one target |
|
|
| Label |
| No action | None | None | Control panel organization |


Property type formats
| Property type | Format |
|---|---|
| Boolean | false | true |
| Number | float, integer |
| Text | string |
| Color | (r=0,g=0,b=0) |
| Vector | (x=0,y=0,z=0) |
| Transform | [100,100,100,0,0,0,1,1,1] |
| Blueprint | - |
| other | - |
Video tutorial - Control Panel.
Create or open
Create a new control panel
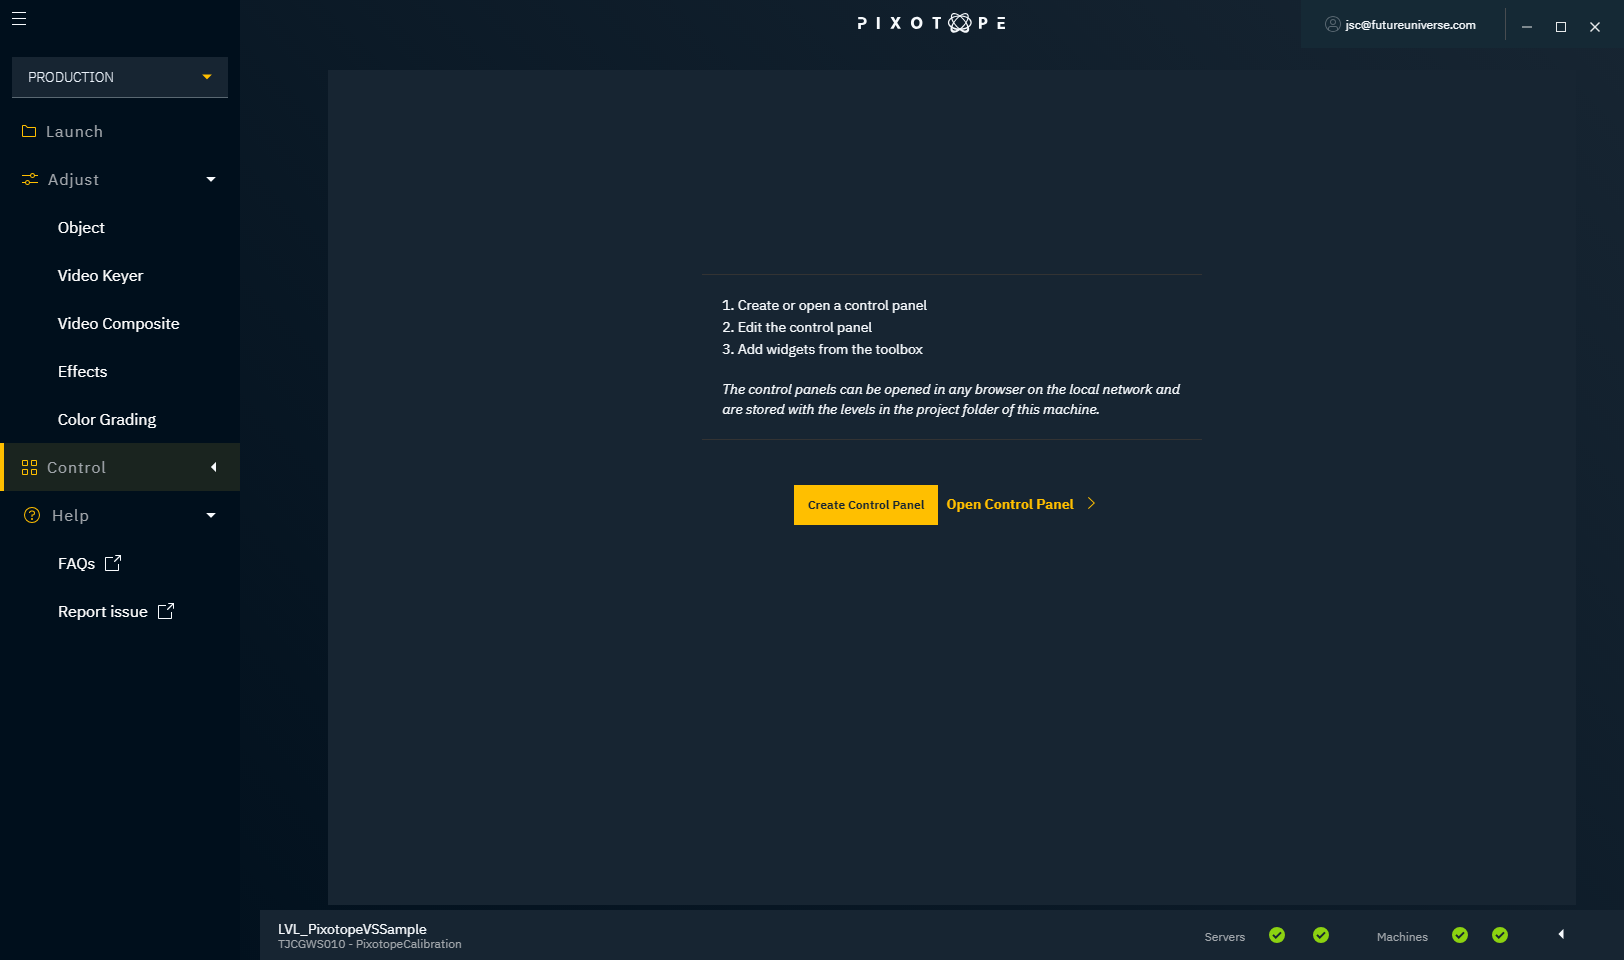
- Click PRODUCTION → Control
- Click "Create Control Panel"
- Name the new control panel
The control panel is saved with a .panel extension in
YourProjectsPath\Content
Open existing control panel
- On the "Launch" page, hover over an existing panel
- Click "Open panel"
Edit panel
When editing a control panel, you can rearrange and resize the widgets.
- Click the control panel menu
- Choose "Edit"
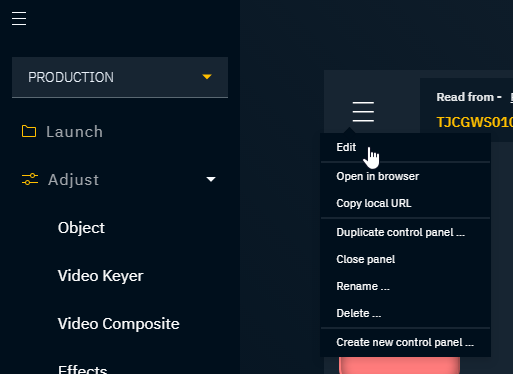
From the control panel menu, you can also
- Duplicate
- Close
- Rename
- Delete
- or Create a new control panel
Add widget
- Click "Toolbox" on the far right of the panel to open the toolbox drawer
- Click the widget you would like to add

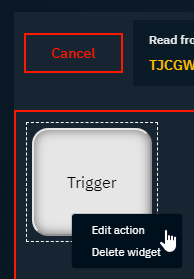
Edit action
- Right-click on the widget
- Choose "Edit action"
- "Edit label" - Label of the trigger
- "Text" - Description on the trigger itself
- "Edit tooltip" - Additional information that will be visible when the cursor hovers over the trigger
- "Button Color" - Color of the trigger
- "Add target" - Add one or multiple actions to the trigger
- Depending on the widget:
- Select a single target by clicking "Select"
- Add a target to the target list by clicking "Add target"
- Depending on the widget:

The red border around a widget indicates that it does not have a target set yet.
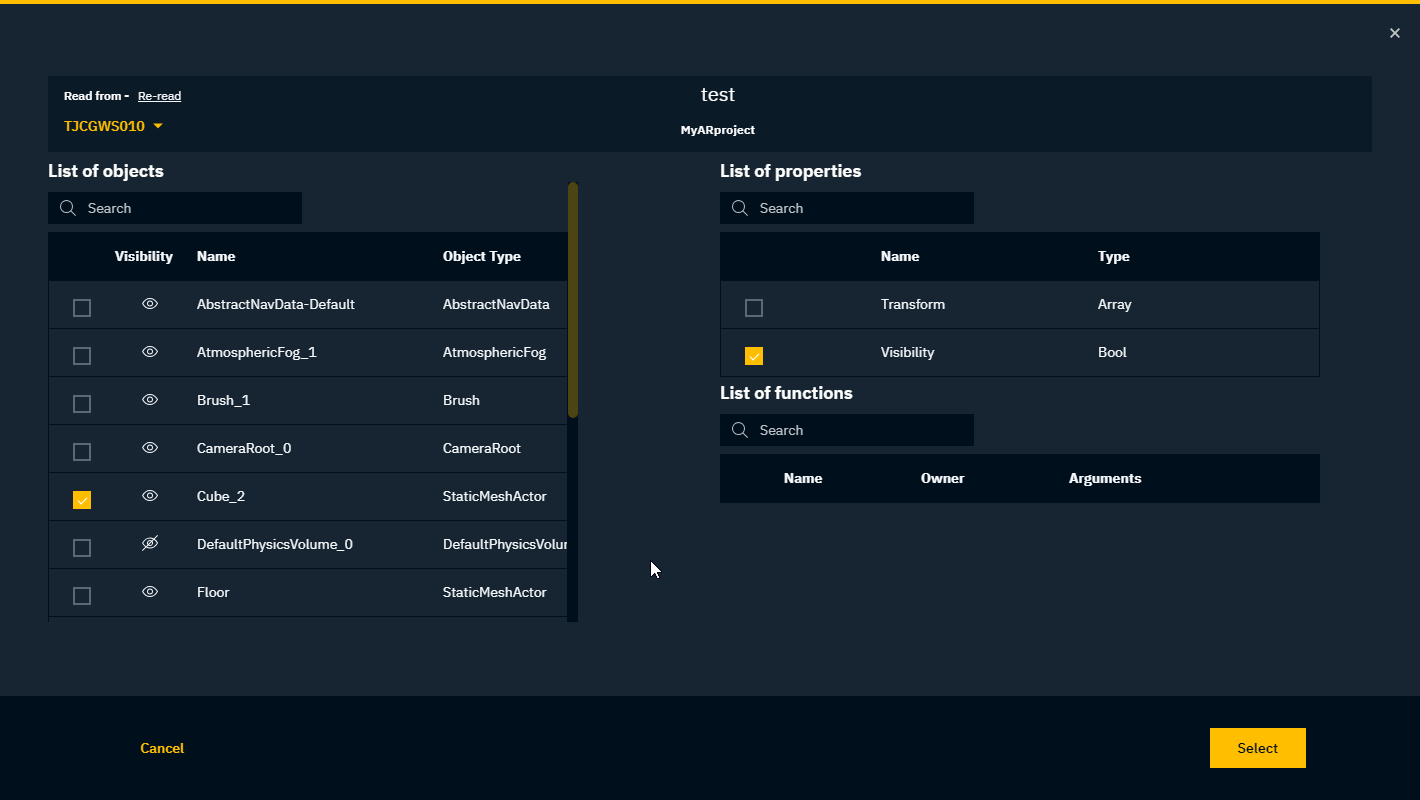
Select object and property or function
- Make sure you have a level running
- Select the object by clicking the checkbox
- Select the property or function you want to control
- Click "Apply"
If the property you want to control is not visible, expose it from within the Editor.
Edit value
- Click the edit icon under "Value" in the target or item list
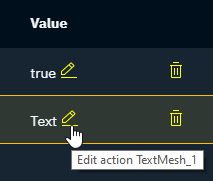
Edit the value while keeping the same format (property type formats).

Blueprint functions do not yet support the sending of additional values.
- Click "Apply"
Arrange widgets
While in Edit mode you can:
- move the widgets
- resize the widgets
Save control panel
Click the "Save" button to save the changes in the control panel file.
Open control panel in the browser
Every control panel can be used via the Director or opened in a web browser. Control panels can be opened in a browser on any device that is connected to the same network as the Data hub.
The control panel is optimised for the Chrome browser.
Click the control panel menu and select:
- Open in browser
- Copy local URL

Create an animation trigger using Blueprint functions - Pixotope Editor
To control an event in Pixotope using the Control Panel in Director, you need to create a trigger in the Editor.
With the power of the Unreal Blueprint visual scripting system, there are almost no limits to what type of interactions, integrations and control you can make, but in this example, we will trigger a small animation.
- Open the Pixotope Editor
- In the Content browser, right-click and create a Blueprint class actor

- Let’s call it "AnimTrigger"
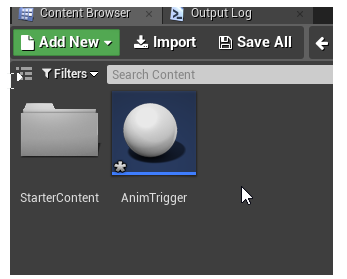
- Choose "Save All" from the "File" menu to save the Actor
- Drag and drop it into the Viewport. It is now available in the World Outliner.
- In the Content browser, right-click and create a Level sequence from the "Animation" menu

- Let's call this "MyAnim"
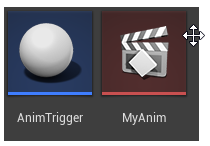
- Drag it into the Viewport as well
- In the Content browser, double-click the "MyAnim" Level sequence. This opens the Sequencer. The Sequencer is one of the many ways you can animate content in Unreal. Here you can, for example, add keyframes to the transforms and make an animation
- Drag a movable static mesh actor from the World Outliner into the Sequencer
- Add keyframes by pressing "S" on the keyboard when the object is at the desired position in the viewport

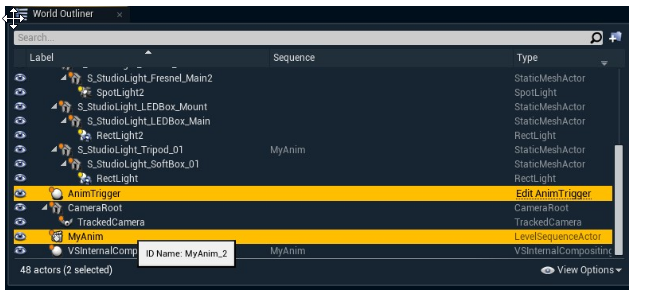
- To trigger this animation from a Control panel in the Director, find our "AnimTrigger" in the World Outliner and click "Edit AnimTrigger". This brings up the Blueprint editor

- Click the "+Function" button to create a function that we can trigger

- Add a function called "beginPlay"
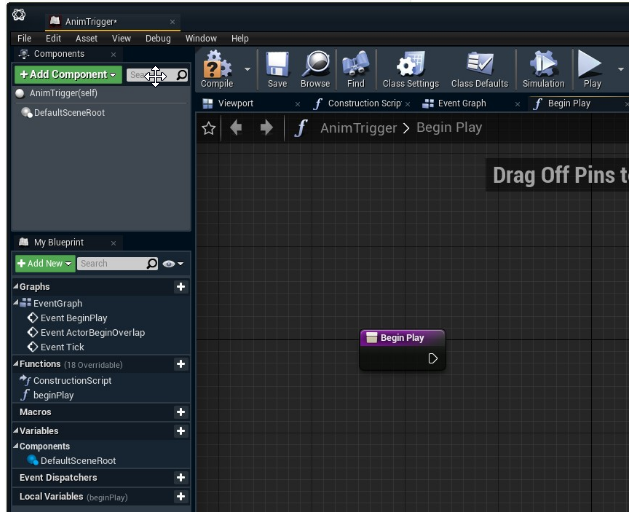
- By dragging from the white "event" arrow we can add more nodes to complete our little function
- Add a "Create Level Sequence Player" node
- Select "MyAnim" on the "Create Level Sequence Player" node
- Add a "Play" node

- Connect the Return Value of the "Create Level Sequence Player" node to the Target on the "Play" node
- Click "Save and Compile!"
- Go to Director
Create a new control panel with a Trigger widget that points to this function. See how to Create a Control Panel
Add a trigger from the Toolbox
- Click "Edit action" of the newly created trigger
Click "Add target"
Select the "AnimTrigger" function
The unique name (ID Name) might have a suffix added, for example: "AnimTrigger_2"Select the "beginPlay" function

Click "Select"
Click "Apply"
Click "Save" to save your Control panel
In the Editor, go to Play mode
This particular function requires you to be in Live or Play mode to trigger. It will not trigger in WYSIWYG Editor mode.
Try out your animation
